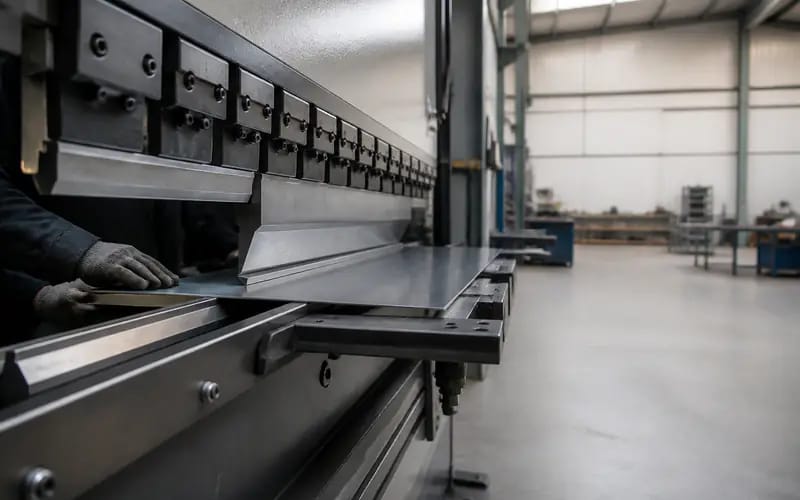
This article explores seven key steps for improving the repeat bend accuracy of your Bending Machines.
Let the Machine Warm Up Properly
The oil should be allowed to warm up fully. Hydraulic oil changes viscosity as it warms up. This affects the ram speed and ensures that the oil is applying the correct amount of pressure throughout the stroke. It’s also important to note that a warm up cycle should be allowed to complete before starting to process work that requires very accurate results. The oil temperature should also be checked to ensure it has reached the correct temperature and has settled.
Check Backgauge Calibration Every Shift
The backgauge setting can drift overnight. This could be as a result of a machine knock, tooling change or simple wear on the backgauge drive mechanism. It is all too easy to assume that something that worked yesterday will work today. In reality a simple check at the start of each shift against a known reference will highlight any such drift before forty parts are ruined.
Verify Material Batches Before Running
Change in sheet thickness even as little as 5mm can impact the bend angle even if all other settings have been left exactly the same. Check the Mill certificate for the delivered batch against what is on the shop floor and where relevant check the thickness of new coils/sheets delivered midway through a run before cutting them on the Bending Machines on your production line.
Measure the First-Off Part Correctly
If you are going to take the time to check the first-off part, make sure you are measuring it correctly. This means using calibrated gauges and applying them in the same way to subsequent parts in order to account for any measurement uncertainty. Don’t rely on ‘eyeballing’ a part against a template, as slight differences in the reading of a part by the gauge, or the measurement point on the flange by the operator, can mask any angle shift. Get the first part right and record it accurately before moving on to the rest of the batch.
Re-Check Parts Mid-Run and Late-Run
Be careful to check your parts not only at the beginning of your run but also in the middle and at the end. By this we mean that in addition to the first-off part, also measure parts from the middle of the run and the end. This is because tooling can wear, there can be thermal drift or slight changes in pressure. These effects can build up gradually and hence must be detected before the whole batch is complete.
Watch for Die and Punch Wear
There is a huge difference between a punch nose wearing slowly and the punch failing suddenly. In both cases the bend angle will have changed, in the first case only slightly and slowly over time. Log the hours or number of parts bent on each tool and check the vee opening and the nose radius of the die and punch against a known good setting.
Keep Clamping Tonnage Consistent
Don’t use more force than specified. Sometimes operators will up the pressure for some reason and then forget to drop it back down for the next part. These changes must be recorded against the specific job they were used for.
Seat Tooling the Same Way Every Time
In almost every case of an incorrectly seated die or loose seated punch the bend will always go the same way wrong. Simply checking that the die seating and punch locking are done in the same manner every time (i.e. always seat the die in the same direction) will highlight any seat tooling errors within thirty seconds. There is more on Bending Machines at Cotswold Machinery Sales Bending Machines.
These checks can be done within a few minutes but are important to be done on a regular basis to ensure accurate bending. Once incorporated into your routine, the checks will help you to identify any inaccuracies in your bending process to ensure consistent parts are produced.